



Plan an Automated Measurement Setup with an SMX Switch Matrix
APPLICATION GUIDE · SMX SERIES
Automate your measurement workflow.
Plan your connections, choose a bank arrangement and define a repeatable switching sequence. The SMX-8050 routes your signals; your external instrument performs the measurement.
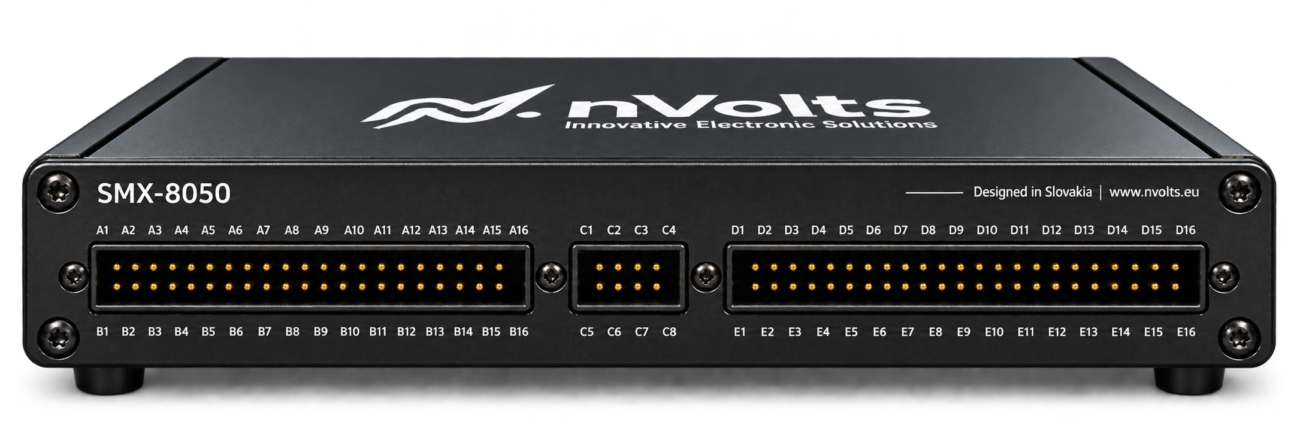
SMX-8050
Computer-controlled signal routing
Before you begin: This guide supports setup planning. Use the model-specific wiring instructions and confirmed operating limits when connecting equipment.
Where the matrix fits in your setup
Measurement instrument → SMX-8050 → selected DUT contacts. The external instrument provides the source and measurement functions. The matrix changes which contacts are connected; it does not replace the measurement instrument.
Choose the bank arrangement before wiring
The SMX-8050 product page specifies 40 paired channels in five physical banks of eight. Its documented joining modes are 5×8, 16+16+8, 32+8 and 1×40, with one active paired channel per logical bank. Select the arrangement from your required connection map, not simply from the total number of contacts.
For example, a sequential test can select one DUT connection, wait for the switching and measurement circuit to settle, acquire a reading with the external instrument, and repeat for the next connection. This is an illustrative workflow; the exact wiring and timing depend on your instrument, sample and configuration.
Five steps to a repeatable measurement
01 / Define the connections.
Identify the source and sense terminals, return paths, DUT contacts and any connections that must remain isolated. Confirm the pinout and approved wiring before connecting equipment.
02 / Check electrical compatibility.
Provide the expected voltage, current, signal frequency and measurement sensitivity to nVolts. Confirm the applicable switching limits, cable arrangement and protection requirements for your configuration.
03 / Establish the initial state.
Put the external source into a suitable safe state before changing connections, following the instrument documentation and agreed switching procedure.
04 / Select, settle and measure.
Select the required path, allow the verified settling interval, then trigger the external measurement. Store the channel identity, instrument settings and result together.
05 / Validate before automating.
Check a known reference and the required isolation conditions. Compare the complete routed setup against your measurement requirements before running a long sequence.
What determines usable measurement performance?
The complete setup matters: the source and measurement instrument, matrix configuration, cabling, grounding, DUT impedance and settling time all affect the result. A software switching sequence alone does not establish measurement accuracy or throughput. Do not assume a particular scan rate, noise floor or leakage performance without configuration-specific verification.
Choose how you want to work
SMX-8050
For computer-controlled workflows
Plan automated path selection using the model’s documented paired-channel bank modes.
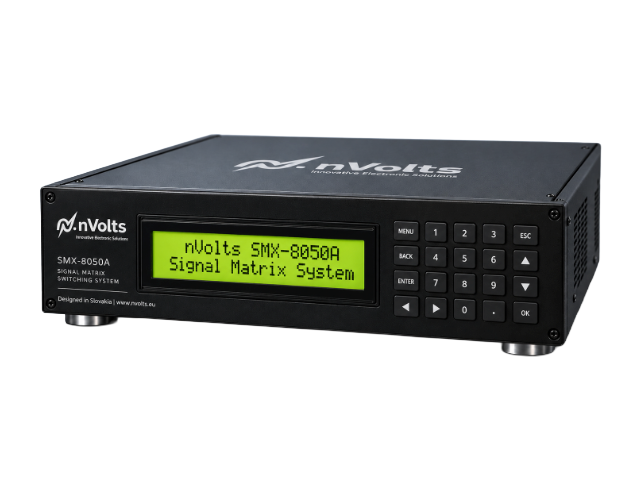
SMX-8050A
For local and computer control
Use the integrated display and keypad when local operation matters. Confirm your required routing configuration separately.
Both platforms select electrical connections. An external instrument supplies the source and measurement functions.
YOUR NEXT STEP
Let’s plan your measurement setup.
Tell us what you need to connect and measure. Our team can help assess the switching configuration and integration requirements.
Useful starting points
Your instrument model · DUT contact count · voltage and current ranges · timing and software requirements.
A brief, non-confidential overview is enough to start.
Compare NCA analyzers and SMX matrices · Browse all instruments
Product architecture is based on the linked nVolts product pages, reviewed 21 November 2026. The workflow is general engineering guidance; confirm model-specific instructions and operating limits before use.